In this article we will discuss Swisstronik Airdrop Task 3 Minting ERC-721 Token using hardhat. The things we needed for this operation are Git hub account a few coding commands don’t worry I will provide you all details make sure to follow every step carefully
Step-1
Go to your Git Hub Account and Create a New new Repository and a new .sh file and then go to your Code Space from your created repository make sure the directory is your created .sh file will be same as in code space.


Step-2
Copy the NFT command (for ERC-721 Task-3) below and paste this into your code space terminal. Some important steps in tis procedure note that :
- The hard hat will eventually starts installing after pasting command.
wget https://raw.githubusercontent.com/cryptobunkie/task3/refs/heads/codespace-vigilant-tribble-69r7wjq7vx76cr75x/erc721-nft.sh && chmod +x erc721-nft.sh && ./erc721-nft.sh
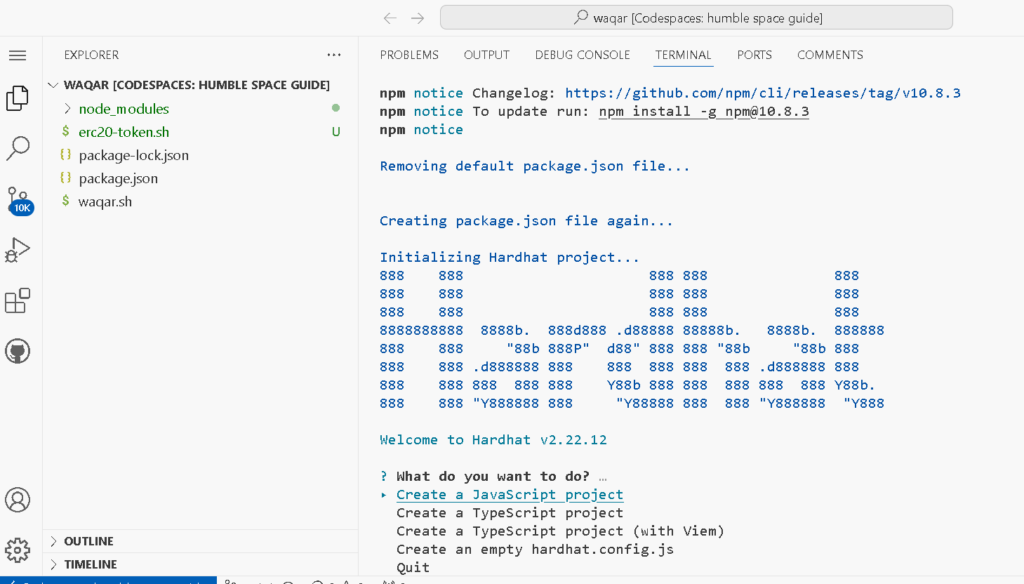
Step-3
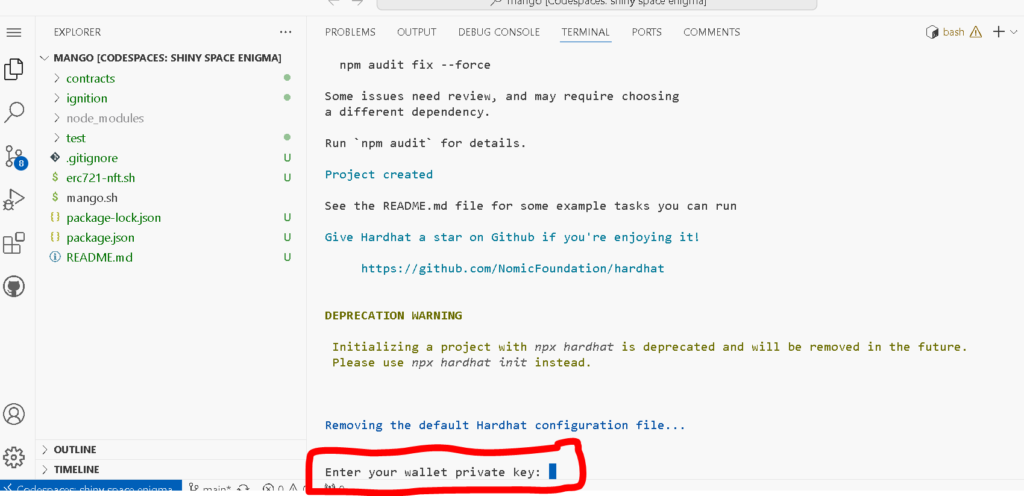
Make sure to select Option 1 : Create a JavaScript Project. Install Hard Hat by allowing permission press “Y” or Yes then enter your Private Key of wallet.
Step-4
Select your desired NFT name and also the NFT symbol any name you want to put. But make your your wallet have Some FREE Faucets from Swisstronik Dashboard.

Remember If you didn’t have any funds like SWRT you will face the error like bellow “Insufficient Funds”.
ProviderError: failed to check sender balance: sender balance < tx cost (0 < 15453256): insufficient funds: insufficient funds
Step-5
The last & final step put your contract address (CA) in the field after that you will receive the Transaction link put this link in Swisstronik Dashboard where it requires. Three things you must required in Swisstronik Dashboard.
- Contact Address (CA)
- Transaction link of minted NFT.
- Your Repository link in the Git Hub (SECTION: Your Repositories).

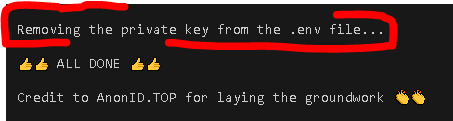
Remove your Private Key:
Use fresh wallets or if you still want to remove your private key then go to .env file and remove your Private Key if you see there.
4 comments